Fuel tank — removal and installation
Note: The following procedure is much easier to perform if the fuel tank is empty.
1. Remove the fuel tank filler cap to relieve fuel tank pressure.
2. Relieve the fuel system pressure (see Fuel pressure relief procedure).
3. Disconnect the cable from the negative battery terminal (see Engine electrical systems).
4. Raise the rear of the vehicle and support it securely on jack stands.
Note: On 2015 and later models, there are multiple splash shields mounted to the underside of the vehicle using Tor screws, bolts and plastic clips. To remove the shields, start with the left-side shield first then remove the remaining shields.
5. On AWD models, remove the driveshaft (see Driveline).
6. Remove the rear portion of the exhaust system.
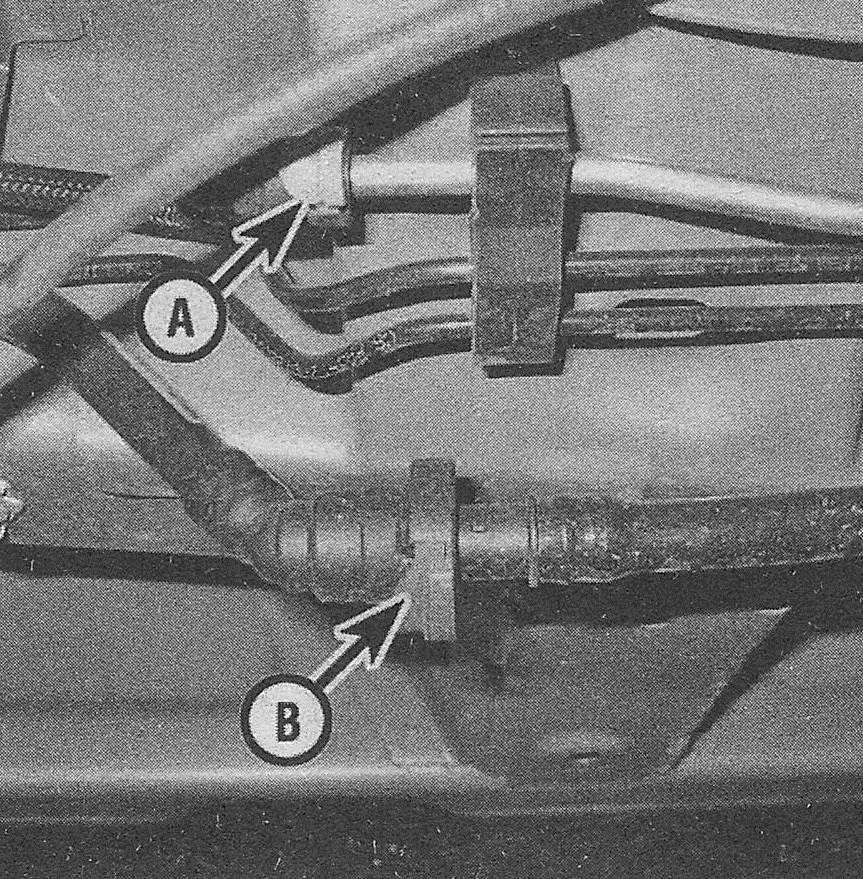
7. Disconnect the EVAP and fuel supply line quick-connect fittings (see illustration).
8.7 Fuel supply line (A) and EVAP hose ( B) quick-connect fittings

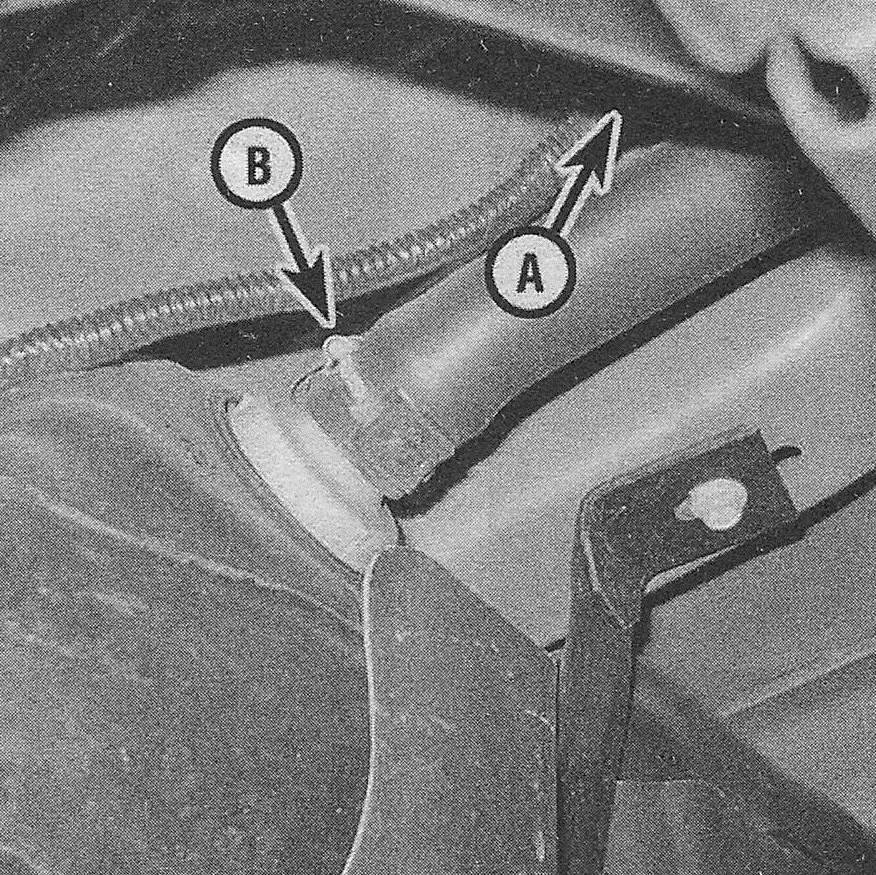
8. Loosen the hose clamp and disconnect the fuel filler neck hose from the tank (see illustration). Also disconnect the fuel pump module electrical connector.
8.8 EVAP vapor hose quick-connect fitting (A) and fuel tank filler neck hose clamp (B)

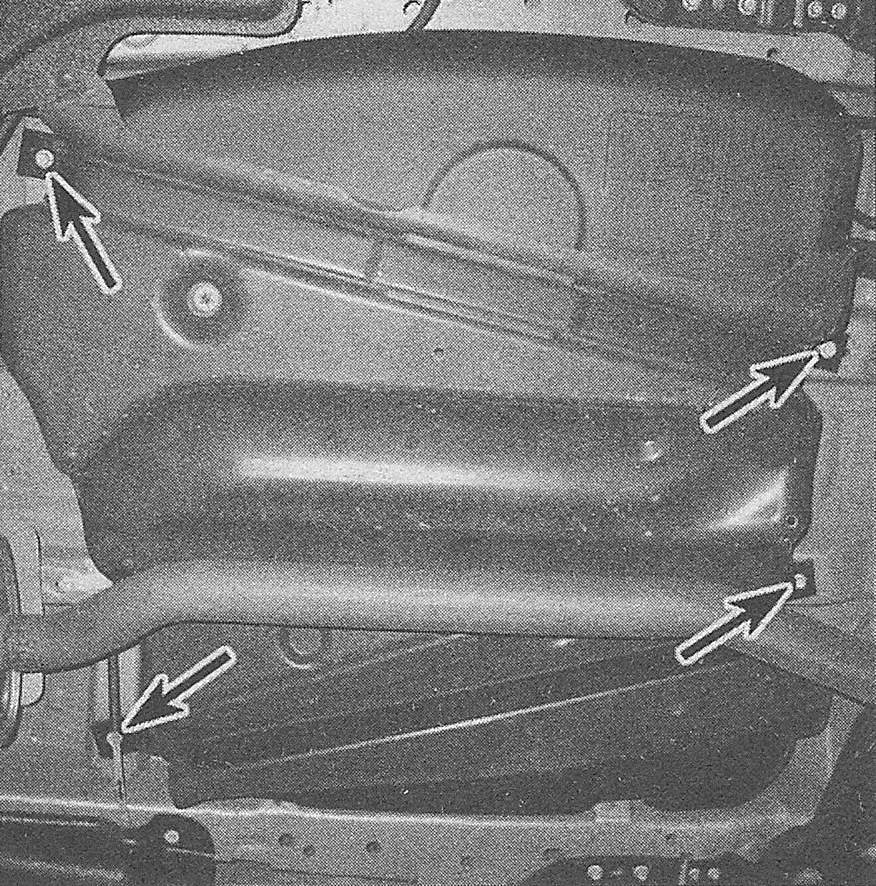
9. Support the fuel tank securely, then remove the fuel tank retaining strap bolts (see illustration). Remove the straps and carefully lower the fuel tank.
8.9 Fuel tank strap bolts

Note: On AWD models, the fuel tank must be moved forward as it is lowered to clear the rear differential.
10. Installation is the reverse of removal. Tighten the fuel tank strap bolts securely.
11. Reconnect the cable to the negative battery terminal (see Engine electrical systems), then start the engine and check for fuel leaks.